Shin pain often starts after one simple change: more miles, faster work, hills, or harder ground. The safest shin splints physiotherapy exercises calm symptoms first, then rebuild the strength needed for impact.
⚠️ Disclaimer: The information in this article is for educational purposes only and does not replace professional medical advice. Consult a qualified physiotherapist before starting any new exercise program.
Use these five steps as a guide, not a test of toughness. If your pain is sharp, very focal, present at rest, or worsening, get assessed before doing impact work.
Step 1: Start With Gentle, Pain-Monitored Mobility
The first goal of shin splints physiotherapy exercises is to keep the ankle moving without adding more stress to the shin.
Start by reducing the activity that brings on pain. You don’t need to stop all movement. Instead, swap running or jumping for a short flat walk, easy cycling, or another low-impact option if it feels comfortable.
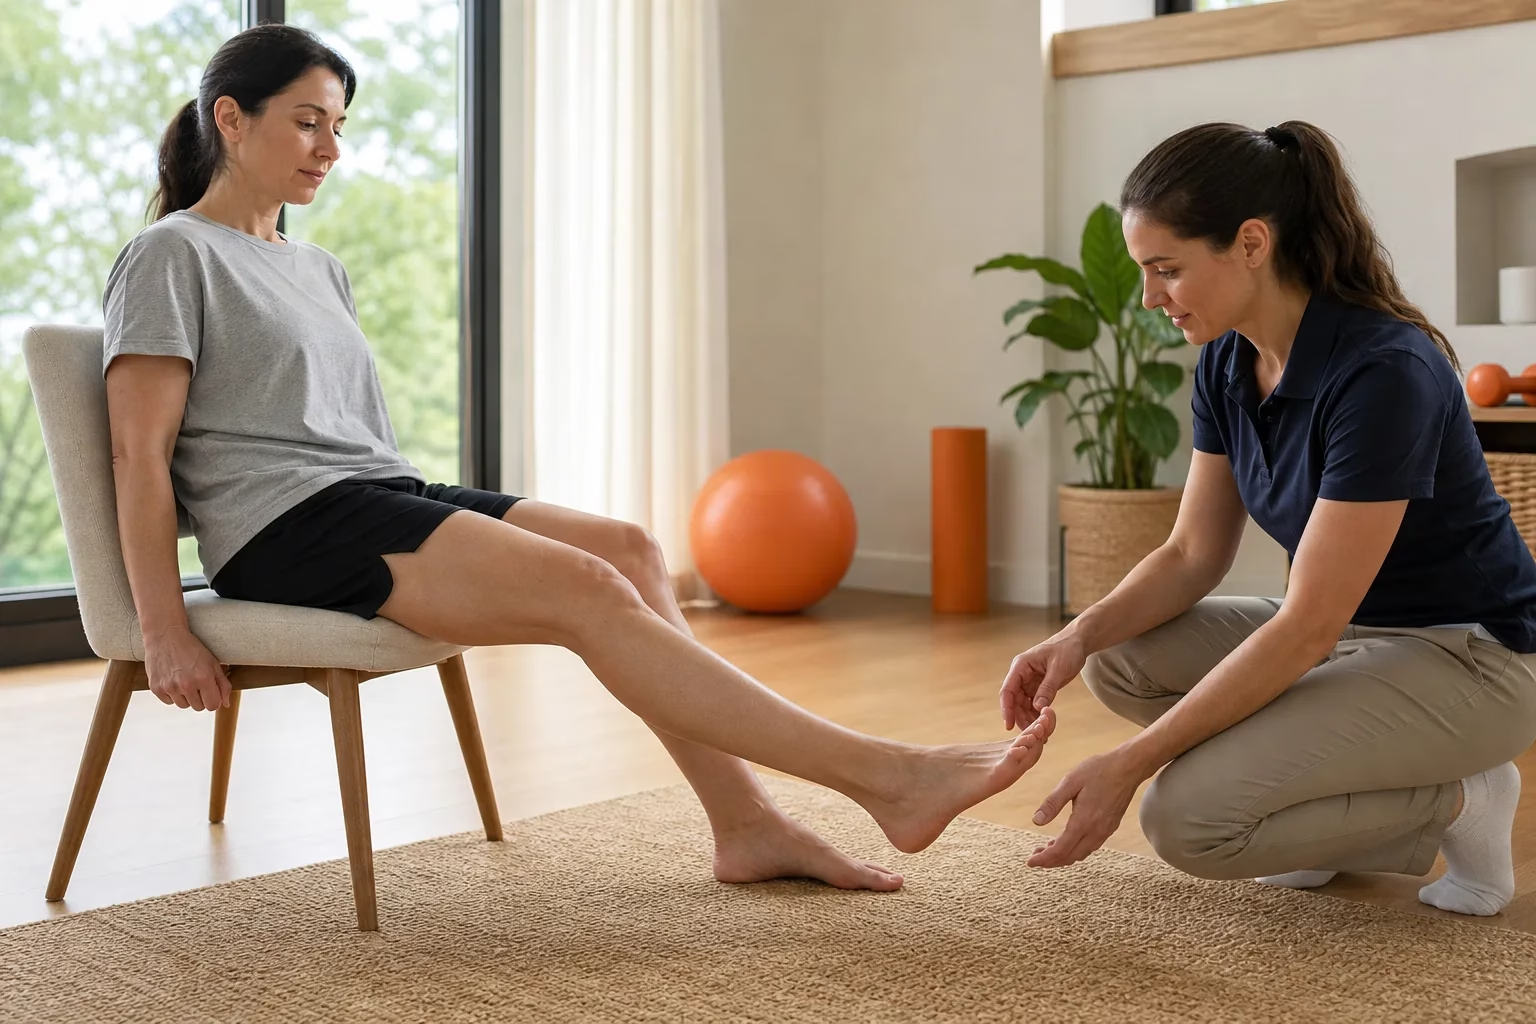
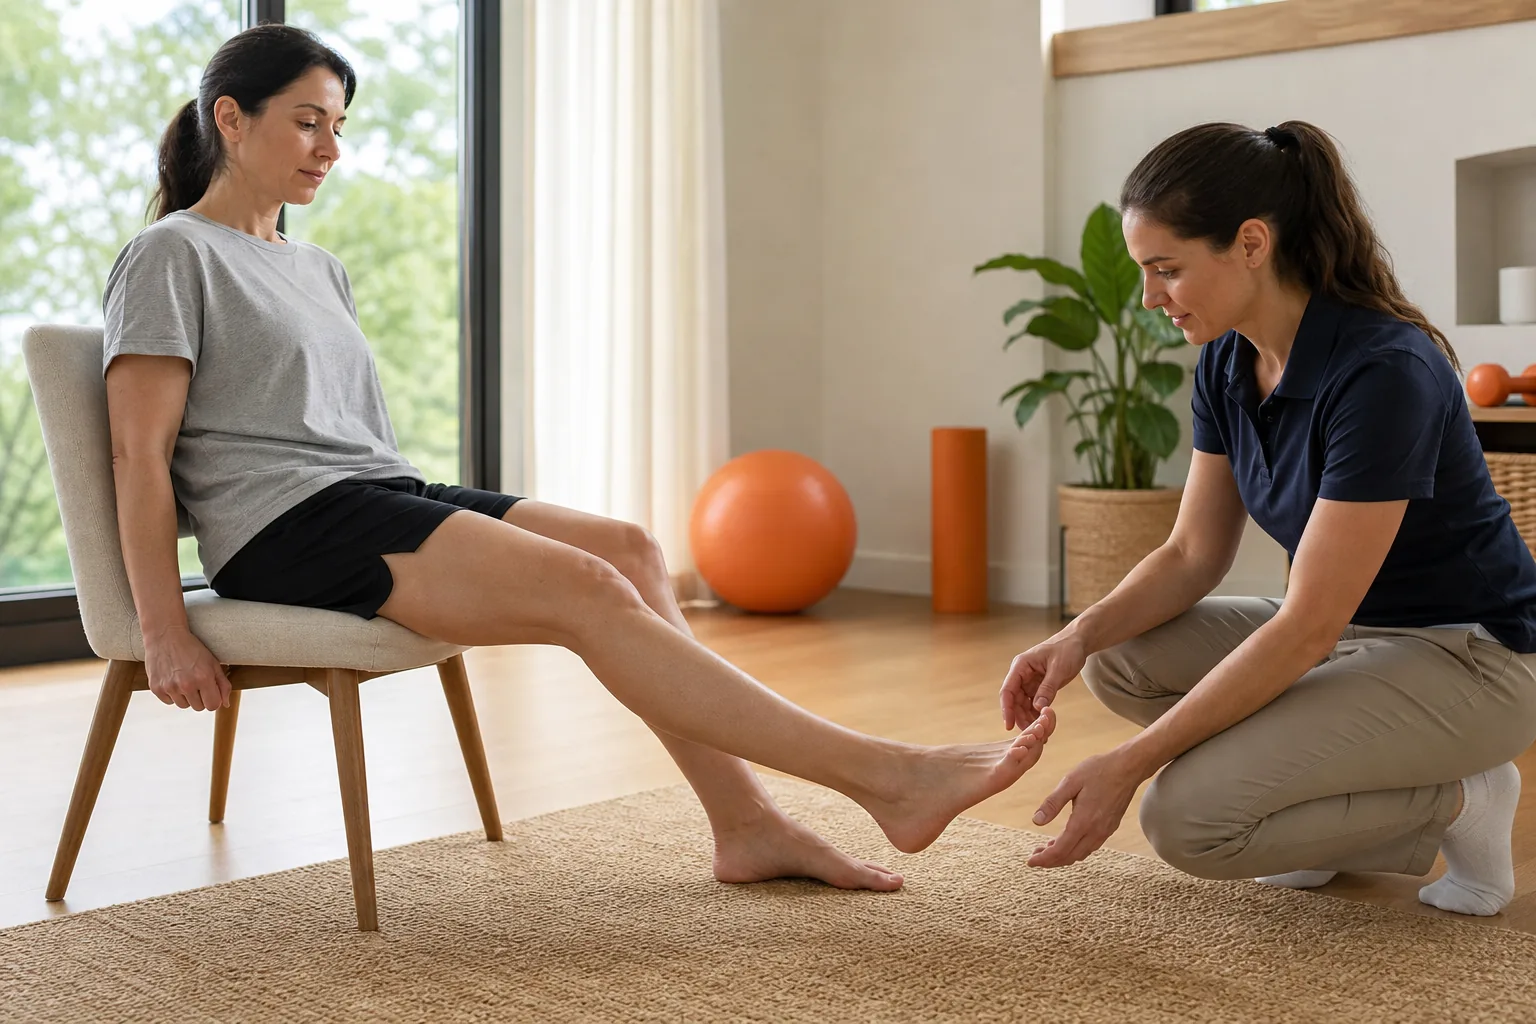
Then try ankle pumps. Sit or lie down with your leg relaxed. Pull your toes toward you, then point them away. Move slowly through a comfortable range. Do 10 to 15 repetitions per side.
Next, use a gentle calf stretch. Stand facing a wall. Step one foot back and keep that heel down. Keep the back knee straight. Lean forward until you feel a mild pull in the calf. Hold for 20 to 30 seconds, then switch sides.
Don’t force the stretch. A strong pull along the shin is not a sign that the exercise is working better. Mild tension is enough at this stage.
Track the response during the session and the next morning. Pain that rises clearly while you move, changes your walk, or stays worse the next day means the dose was too high. Guidance from a medically reviewed shin splints exercise resource also stresses gradual loading and review when pain is severe or persistent.
Before moving on, you should be able to walk on level ground with a steady gait. The ankle should feel less stiff, not more irritated.
Step 2: Restore Ankle and Lower-Leg Control
Once basic mobility feels calm, use shin splints physiotherapy exercises to improve how your foot and ankle control each step.
Try a rocking ankle stretch. Stand in a split stance with the sore side in front. Keep the heel down and slowly move the knee toward the second toe. Rock back to the start. Use 10 to 15 slow repetitions per side.
The movement should come from the ankle. Keep the foot grounded instead of letting the arch collapse. Hold a wall or chair if balance makes you tense.
Toe raises are a simple next drill. Stand with your back near a wall or hold a stable surface. Keep the heels down. Lift the toes and the balls of the feet, then lower with control. Start with 8 to 12 repetitions.
This works the muscles at the front of the lower leg. Those muscles help control the foot as it lowers toward the ground. They can tire quickly, so stop before your toes start gripping or your knees sway.
You can also practice a slow heel-to-toe walk across a room. Place the heel down first, roll through the foot, and push away without rushing. Take small steps. Do one or two passes at first.
Watch for three common errors:
- The knee falls inward as the foot takes weight.
- The heel lifts before the ankle has moved forward.
- The toes curl hard to keep balance.
If one side looks much less steady, reduce the range or use more support. A physio can check whether the issue comes from the ankle, foot, hip, or a mix of factors. Our team at Dynamic Balance Physio’s guide to foot, knee, and ankle pain after running also covers how running changes can affect the lower limb.
By the end of this step, you should be able to control a slow ankle rock and a small toe raise without a pain spike. Control comes before load.
Step 3: Build Calf and Tibialis Strength
Strength work gives the lower leg more capacity, which is why calf and tibialis drills sit at the center of many shin splints physiotherapy exercises.
Begin with double-leg heel raises. Stand near a wall. Lift both heels, pause briefly at the top, then lower slowly. Start with 2 sets of 10 to 15 repetitions. Keep your weight spread across the base of the big toe, little toe, and heel.
When that feels easy, work toward 3 sets of 15 to 25 repetitions. The exact number matters less than smooth control. Don’t bounce at the bottom or rush through the last few reps.
Use a bent-knee version to place more work on the soleus, the deeper calf muscle. Bend both knees slightly while keeping the heels lined up. Rise and lower through the same slow path.
For the front of the shin, sit on a chair with your heels under your knees. Lift the toes while keeping the heels planted. Lower them slowly. This is the Seated Tibialis Anterior Press. Start with 2 sets of 10 to 15 repetitions.
As your strength improves, progress one part at a time. First add a few controlled repetitions. Then add a third set. Later, move to a single-leg calf raise or hold a light weight if a clinician says impact is appropriate.
Our review of 33 exercise entries found that calves and the tibialis anterior were among the most common target areas. Yet only 45% of those entries gave sets or reps, and progression guidance appeared in about 55%. That gap matters because a drill without a clear next step can leave you stuck or push you ahead too fast.
Keep one rest day between harder calf sessions at first. If the shin is more sore the next morning, return to the last level that felt calm.
Step 4: Improve Hip and Single-Leg Movement Quality
Strong shin splints physiotherapy exercises also train the hip because the hip helps manage load before it reaches the foot.
Start with step-ups on a low, stable step. Place the whole foot on the step. Lean forward slightly and push through that leg to stand tall. Lower slowly. Use 2 sets of 8 to 12 repetitions per side.
Keep the knee pointed toward the second or third toe. Don’t let it drop inward. Use a lower step if you need to twist your pelvis or push off hard with the back foot.
Step-ups work the glute muscles while challenging single-leg control. They also show you what happens when the leg is tired. Do them early in the session, before fatigue changes your form.
Next, try a supported single-leg Romanian deadlift. Stand beside a wall or chair. Shift weight onto one leg. Hinge at the hip while the other leg reaches back. Keep the spine long, then return to standing by pressing the foot into the floor.
Start with a small hinge. You don’t need to reach the floor. Aim for 6 to 10 repetitions per side. The goal is steady balance, not depth.
A soleus lunge is another useful option. Stand facing a wall with one foot ahead. Bend both knees and move the front knee forward while the heel stays down. Hold the lower position for a few seconds, then rise. Use a small range if the shin feels sensitive.
These drills link the hip, knee, ankle, and foot. That link is important when you return to running because each stride asks the leg to accept force on one side.
Shin pain needs careful assessment rather than a one-size-fits-all exercise list. A focused spot of pain, pain at night, numbness, weakness, or a worsening limp needs medical review.
By now, you should be able to complete step-ups and a supported hinge with stable knee control. If you lose that control, stop the set. Fatigue is useful feedback, but it should not decide your form for you.
Step 5: Reintroduce Impact and Progress Toward Running
The final stage of shin splints physiotherapy exercises is graded impact, not a sudden return to your old training plan.
First test daily function. Walk at a normal pace. Use stairs. Complete calf raises and step-ups without a pain increase during the session or the next morning. If those tasks are still sore, wait before adding jumps.
When you are ready, start with low-level impact. Try gentle marching, then small two-foot hops in place. Keep the landing quiet. Stop if pain becomes sharp, changes your landing, or grows with each repetition.
Pain-free plyometrics can later include small jumps, line hops, or short skipping drills. A running-physio exercise plan describes an early session as roughly 40 foot contacts or less, with progress based on speed, jump height, length, load, or direction. Do not change all of those at once.
The research set we reviewed showed a wide gap in volume. Some entries listed only a few reps, while high-impact drills used about 40 to 80 foot contacts. That contrast is a good reason to use a staged plan instead of copying a number from a random exercise page.
For running, begin with a walk-run session on a flat surface. Use short running periods with walking between them. Keep the pace easy. Leave a recovery day before the next impact session.
Progress only one factor at a time:
- Add a little running time before adding speed.
- Add distance before hills.
- Add hills before hard intervals.
Keep a simple note after each session. Record the pain during exercise, later that day, and the next morning. If symptoms appear earlier or last longer, step back for several days.

At Dynamic Balance Physio, we can assess the painful area, review your training change, and adjust the load for your sport or daily needs. That can be useful for athletes in Surrey and Langley who keep getting the same shin pain after returning to activity.
FAQ
What are the best physiotherapy exercises for shin splints?
The best exercises depend on your current pain and strength, but most plans begin with ankle pumps and gentle calf mobility. Then they add calf raises, tibialis work, step-ups, and single-leg control. Shin splints physiotherapy exercises should progress only when symptoms stay settled during activity and the next day.
Should I exercise with shin splints?
You can often keep moving with shin splints, but you should reduce the activity that causes pain. Gentle mobility or low-impact exercise may be suitable early on. Stop if pain rises during the session, changes your walking pattern, or remains worse the next morning. Focal pain or pain at rest needs assessment.
How often should I do shin splints exercises?
Gentle ankle movement can often be done daily if it stays comfortable. Strength work may need rest between harder sessions, especially when you are starting. Use the response over the next 24 hours to guide frequency. A physiotherapist can set the right dose for your symptoms, work demands, and sport.
Can calf raises get rid of shin splints?
Calf raises can help build lower-leg capacity, but they don’t fix every cause of shin pain. Training changes, foot control, hip strength, footwear, and recovery may also matter. Start with double-leg raises, then progress only when your form stays steady and the shin does not feel worse afterward.
When should I see a physiotherapist for shin pain?
See a physiotherapist when pain persists, keeps returning, limits walking, or does not improve after reducing impact. Seek prompt medical assessment for one very painful spot, night pain, numbness, weakness, marked swelling, or a worsening limp. Those signs may point to a stress injury or another condition that needs different care.
Conclusion: Continue With Dynamic Balance Physio
Use gentle mobility first, build calf and hip strength next, and earn your return to running through pain-free progress. If your shin pain is persistent or hard to place, book an assessment with Dynamic Balance Physio in Surrey or Langley so we can help set a safe plan for your next step.