

How to Treat a Sprained Ankle at Home: Simple Steps
How to Treat a Spranged Ankle at Home: Simple Steps
If you’re looking for how to treat a sprained ankle at home, you can calm the swelling, protect the joint, and start moving again right from your living room. Got a painful twist in your ankle and want to fix it without a trip to the clinic? Follow these five easy steps and you’ll be back on your feet faster.
⚠️ Disclaimer: This information is for educational purposes only. For a proper diagnosis and personalized treatment plan, consult a qualified physiotherapist or healthcare professional.
Step 1: Rest and Protect the Ankle
First, stop using the injured foot. Put weight on the other leg and keep the sprained ankle still for the first 24‑48 hours. Rest doesn’t mean lying in bed all day; it means avoiding activities that stress the joint.
While you rest, improve the foot above heart level whenever you’re sitting or lying down. This uses gravity to pull excess fluid away from the swelling area.
Give the ankle a gentle cushion. A soft pillow or a rolled‑up towel works well under the foot. The goal is to keep the joint stable without cutting off circulation.
For a quick definition of an ankle sprain, see Wikipedia’s ankle sprain overview. It explains how the ligaments stretch or tear when the foot twists.
Even after the first rest period, you can start light weight‑bearing if it doesn’t hurt. Moving a little keeps the joint from stiffening and helps blood bring nutrients to the healing tissue.
For additional ankle flexibility, try our ankle stretch exercises.
Step 2: Apply Ice to Reduce Swelling
Ice is the classic first‑aid tool. It narrows blood vessels, which slows the flow of fluid into the injured area.
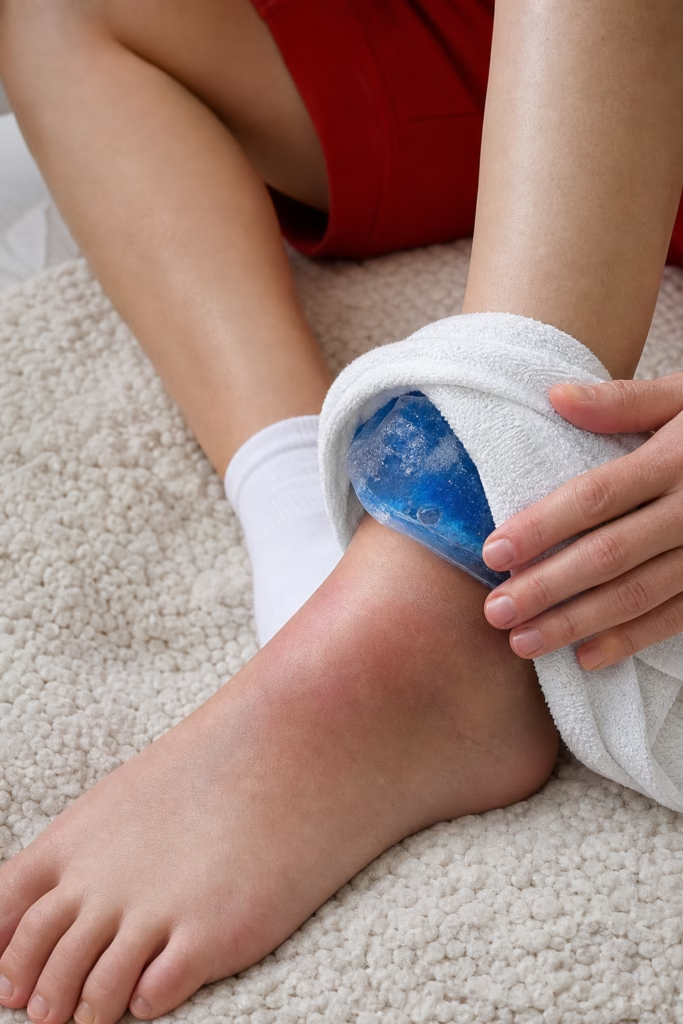
Wrap a bag of ice or a homemade ice pack in a thin towel. Place it on the ankle for 15‑20 minutes, then remove for at least 40 minutes before re‑applying. This on‑off cycle prevents skin damage and keeps the cooling effect consistent.
Research shows that the benefit of ice is mixed. Some studies find modest pain relief, while others see no clear advantage over early movement alone. Prolonged vasoconstriction may delay healing, so limit each session to the recommended time.
After the first 48 hours, you can reduce icing frequency. Switch to a warm compress if the ankle feels stiff, but avoid heat in the first few days because it can increase swelling.
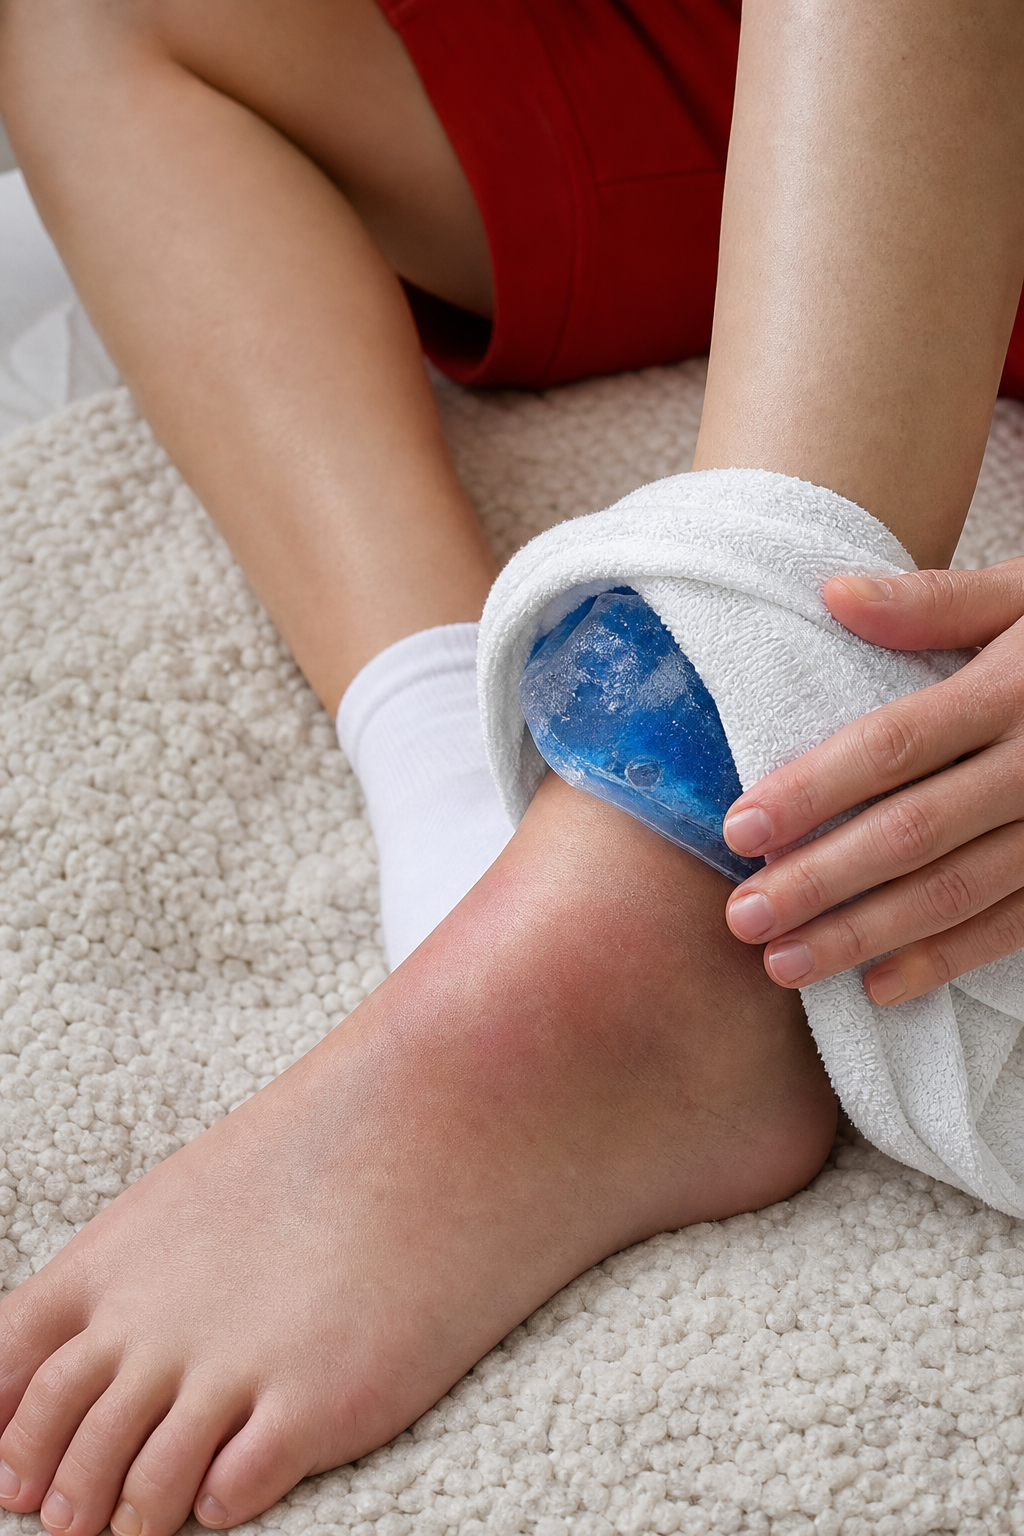
Remember to protect the skin. If you notice numbness or a burning sensation, remove the ice immediately.
Step 3: Compression and Elevation
Compression helps control swelling by gently squeezing the tissues. A supportive wrap or similar compression garment works well.
Start the wrap at the toes and work upward, overlapping each layer by half its width. The band should feel snug but never cut off circulation. If your toes turn blue or feel numb, loosen it.
Improving the ankle while you’re sitting or lying down further encourages fluid to drain toward the heart. A stack of pillows or another stable surface can raise the foot a few inches.
A properly fitted wrap should feel snug without restricting circulation and can help reduce stiffness.
Keep the wrap on for the first 2‑3 days, then remove it for short periods to let the skin breathe.
To build strength, see our ankle strengthening guide.
Step 4: Gentle Mobility Exercises
Once the swelling eases, start moving the ankle gently. Mobility work prevents the joint from locking up and restores balance.
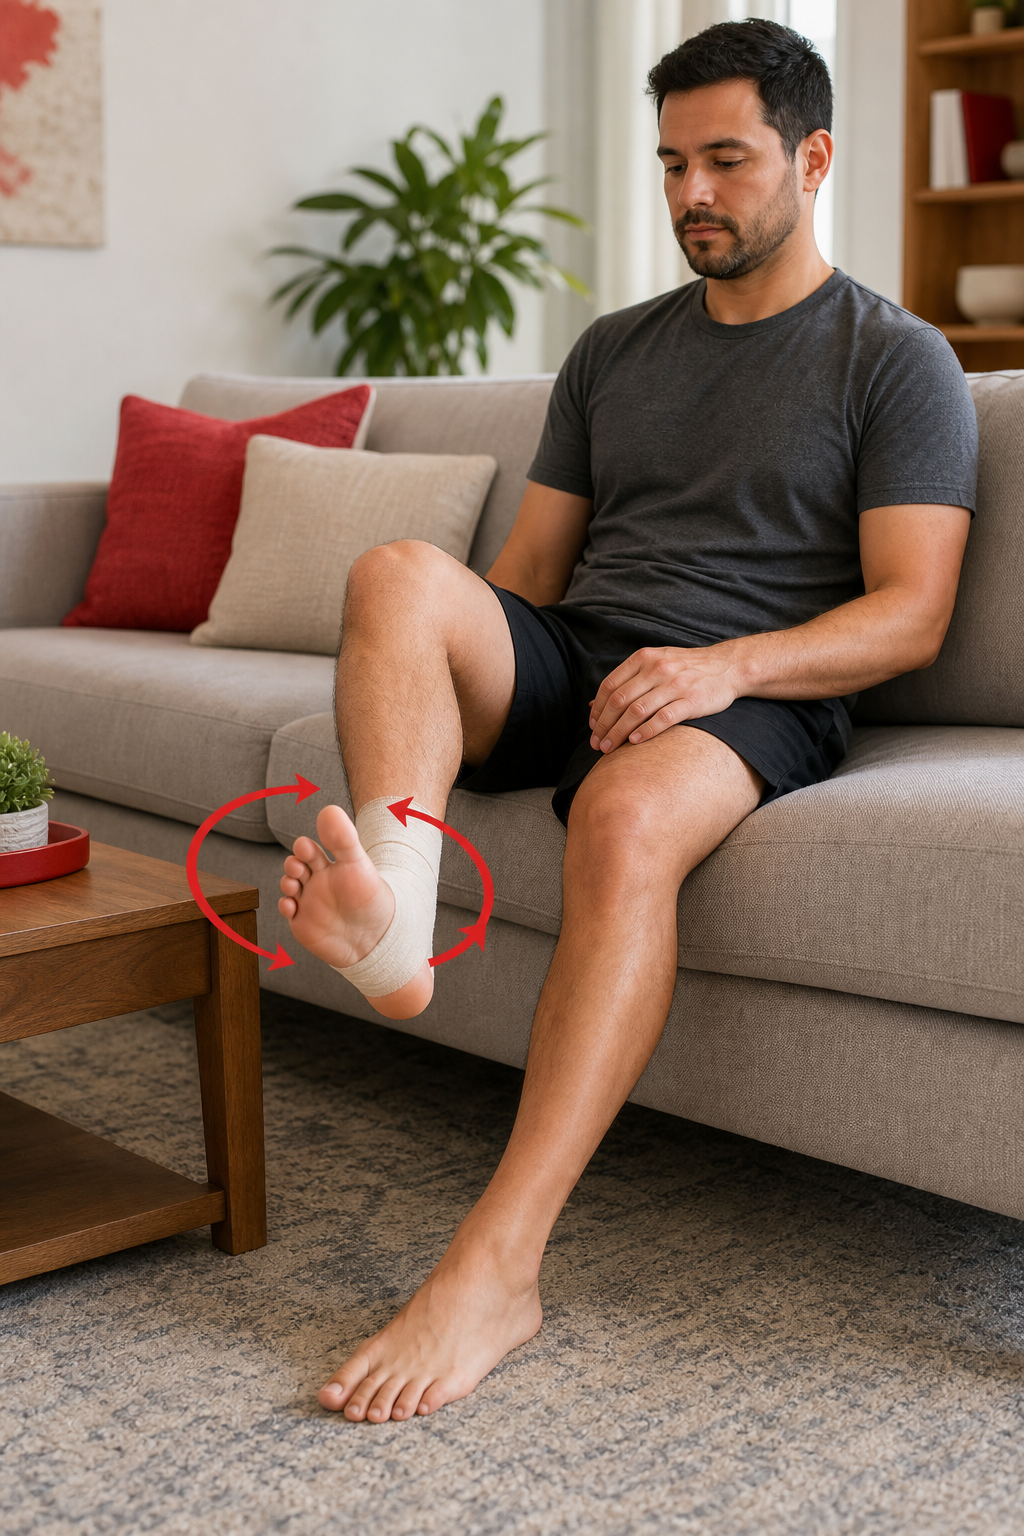
Begin with ankle circles. Sit with the foot off the ground and draw slow circles in the air, 10 clockwise, then 10 counter‑clockwise. Keep the motion pain‑free.
Next, try the alphabet exercise. Use your big toe to “write” the letters of the alphabet on the floor. This moves the ankle through a full range without over‑stretching.
After a few days, add a towel stretch. Sit with the leg straight, loop a towel around the ball of the foot, and gently pull toward you while keeping the knee straight. Hold for 15‑20 seconds, repeat three times.
Progress to standing calf raises once you can bear weight without sharp pain. Use a wall or chair for balance, rise onto the balls of both feet, then lower slowly. Do 2 sets of 10 reps.
If any movement spikes pain, stop and return to rest and ice. The goal is steady, painless motion.
Step 5: When to Seek Professional Help
Most mild sprains heal with the steps above, but know the red flags that mean you need a clinician.
Call a physiotherapist if you notice:
- Severe pain that doesn’t improve after 48‑72 hours.
- Inability to put any weight on the foot.
- Visible deformity, such as the ankle looking out of shape.
- Swelling that worsens instead of going down.
- Persistent instability or a feeling that the ankle might give way.
Dynamic Balance Physio can assess the injury, rule out fractures, and design a personalized rehab plan. Their team knows how to blend manual therapy, targeted exercises, and gradual load progression to get you back to sport or work safely.
When you’re ready, book an appointment through their Sprains and Strains Surrey page. The clinic will guide you through the next phase, strengthening, balance drills, and functional return.
FAQ
How long does a typical ankle sprain take to heal?
Most mild to moderate sprains improve within 2‑3 weeks with home care. Severe Grade III sprains can need 6‑8 weeks and may benefit from supervised physiotherapy.
Can I use heat instead of ice right after the injury?
Heat increases blood flow and can worsen swelling in the first 48 hours, so ice is the safer choice initially.
Is it okay to walk on a sprained ankle?
You can bear weight as long as it’s pain‑free; gentle walking helps maintain joint motion and promotes healing.
Should I take over‑the‑counter pain meds?
NSAIDs like ibuprofen can reduce pain and inflammation, but take them with food and follow the label; consult a doctor if you have stomach or kidney concerns.
Conclusion
Rest, ice, compression, elevation, and early mobility form a solid home‑treatment routine. If symptoms linger or you see any red flags, reach out to Dynamic Balance Physio for a tailored plan. prevent ankle sprains. Ready for the next step? Book a session and start your guided recovery today.
{
“@context”: “https://schema.org”,
“@type”: “Article”,
“headline”: “How to Treat a Spranged Ankle at Home: Simple Steps”,
“image”: [
“https://rebelgrowth.s3.us-east-1.amazonaws.com/blog-images/batch_81443_0_6ac225318890.png”,
“https://rebelgrowth.s3.us-east-1.amazonaws.com/blog-images/batch_81443_1_d97ae48fe828.png”
],
“author”: {
“@type”: “Person”,
“name”: “Dynamic Balance Physio”
},
“datePublished”: “2024-01-01”,
“mainEntityOfPage”: {
“@type”: “WebPage”,
“@id”: “https://dynamicbalancephysio.ca/blog/how-to-treat-a-sprained-ankle-at-home”
}
}