

Chronic Ankle Instability Exercises: A Step‑by‑Step Guide

Living with chronic ankle instability can feel like walking on a shaky bridge. One wrong step can send pain shooting up your calf and make everyday moves feel risky. Below is a step‑by‑step guide that walks you through the exact exercises you need to restore stability and confidence.
Step 1: Begin with Flexibility and Isometric Activation
First, give the joint a chance to move through its full range without strain. Gentle calf stretches and ankle circles loosen the Achilles tendon and the surrounding fascia, which are often tight after repeated sprains. A simple wall‑supported calf raise, push through the balls of both feet, lift the heels, hold two seconds, then lower slowly, helps activate the gastrocnemius and soleus while keeping the ankle in a safe position.
Next, add isometric ankle contractions. Sit with the foot planted on the floor, press the toes into the ground, and hold the contraction for five seconds. This technique trains the tibialis anterior and peroneal muscles without moving the joint, a key step when swelling is still present. Research shows that early isometric work improves muscle recruitment patterns that are often lost after a sprain.
If you notice lingering pain, limited motion, or a feeling that the ankle might give way, it’s time to get a professional assessment. Our clinic’s Ankle Pain Relief program includes a detailed range‑of‑motion test, manual therapy, and a customized home‑exercise plan. By catching deficits early, you avoid the cycle of chronic instability.
Step 2: Build Strength with Progressive Resistance
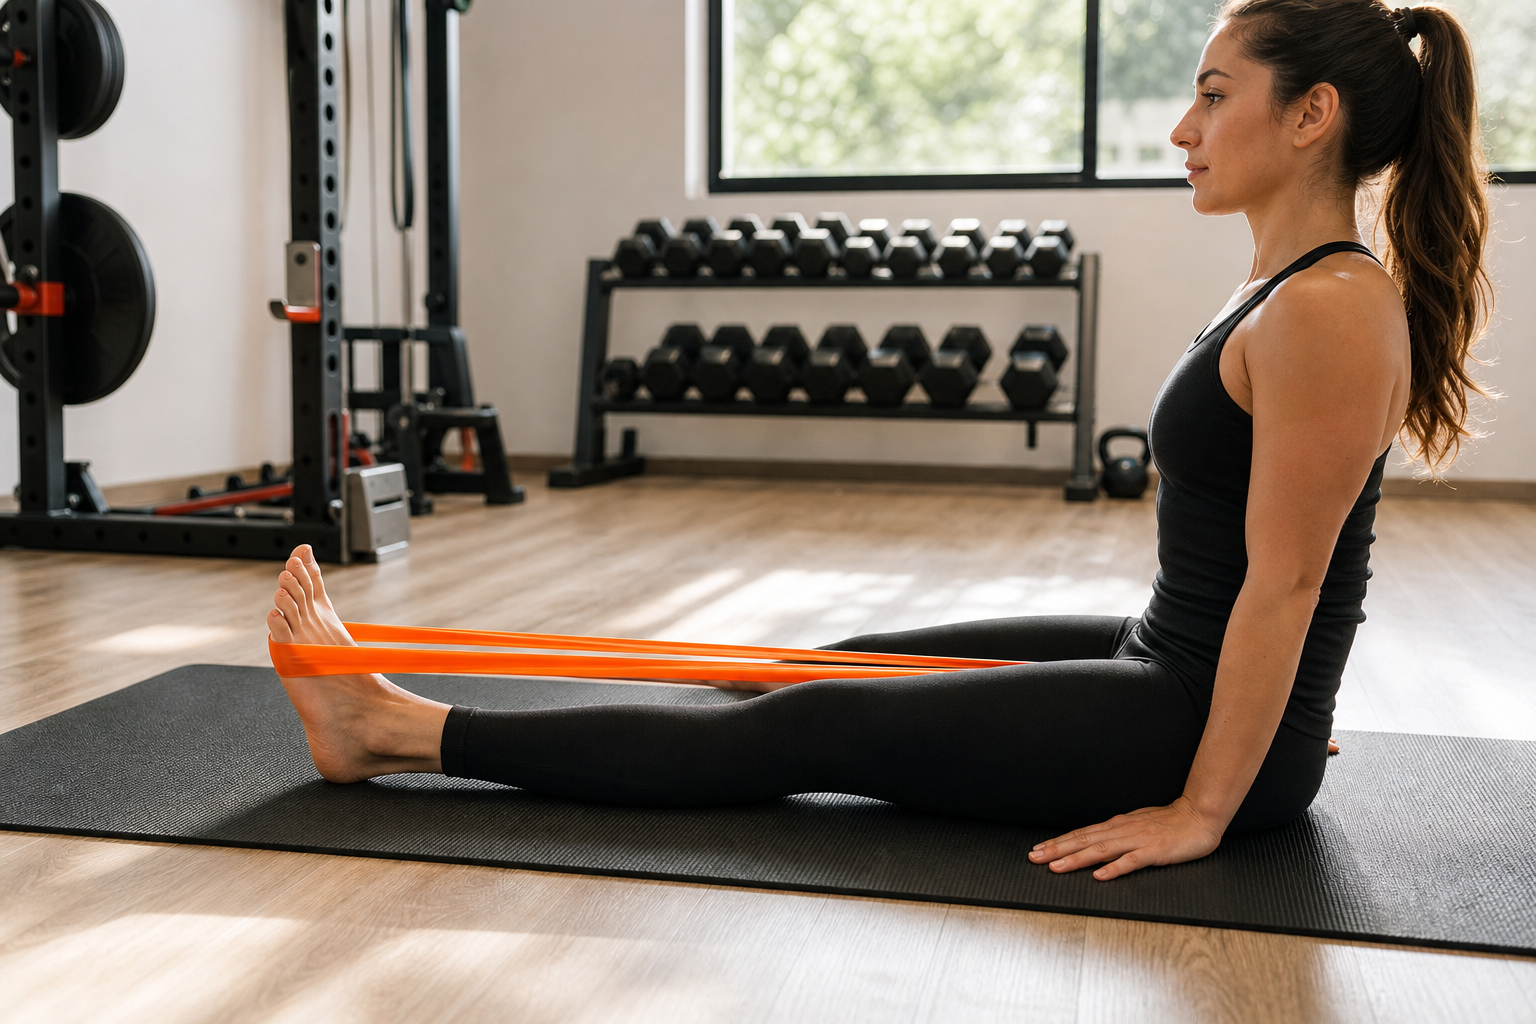
Once flexibility and basic activation feel comfortable, shift to true strengthening. Resistance bands are inexpensive and easy to use at home. Loop a band around a sturdy table leg, stand on the band, and pull the foot upward for dorsiflexion. Do three sets of 12‑15 reps, then increase band thickness each week.
For inversion and eversion, attach the band to the inside or outside of the foot and pull against the resistance. This isolates the smaller stabilizers that keep the ankle from rolling inward or outward during sport‑specific moves. The literature notes that band‑resisted exercises are an effective intervention to improve ankle strength.
When you can handle the bands comfortably, graduate to manual resistance or weights. A classic “manual resistance ankle exercise” has the therapist push against the foot while you try to keep it steady for three to five seconds, repeating 10‑12 times per set. This mimics the forces the ankle faces during real activities and prepares the joint for heavier loads.
Step 3: Restore Balance and Proprioception
Strength alone won’t stop the ankle from wobbling. Proprioceptive training retrains the nerves that tell your brain where the joint is in space. Start with a simple single‑leg stance on a firm surface. Close your eyes after 30 seconds; this removes visual cues and forces the ankle’s sensors to work harder.Progress to a wobble board or a folded towel on the floor. Stand on one leg, keep the board unstable, and try to keep your knee from drifting. Studies show that wobble‑board work reduces instability scores in athletes who have suffered repeated sprains.
Another useful drill is the “hop to stabilization” exercise: hop forward on the affected leg, land softly, and hold the landing for two seconds before stepping down. The brief pause challenges postural control and builds confidence that the ankle can bear weight without collapsing.

Step 4: Advance with Neuromuscular Control and Strengthening
At this stage, you’re ready for sport‑specific neuromuscular drills. The slow‑reversal PNF diagonal pattern involves moving the foot in a diagonal plane while a partner provides gentle resistance. This pattern mirrors the cutting and pivoting motions common in basketball, soccer, and trail running.
Combine the PNF work with plyometric hops, lateral shuffles, and quick change‑of‑direction runs. Keep the volume low, four to six hops per set, and focus on landing with the knee over the toe and the foot flat on the ground. These drills train the ankle’s reflexes and improve reaction time, which are often delayed in chronic instability.
When you can perform these drills without pain or wobble, you’ve built a solid foundation for returning to full activity. If any exercise triggers sharp pain, back off and consult a physiotherapist. Dynamic Balance Physio can fine‑tune the program, add manual therapy, and ensure you progress safely.
Frequently Asked Questions
What are chronic ankle instability exercises?
Chronic ankle instability exercises are targeted movements that improve range of motion, muscle strength, balance, and neuromuscular control to prevent the ankle from giving way during daily activities.
How long should I do each exercise?
Start with 5‑10 minutes per session, three times a week. As strength and balance improve, extend the work to 15‑20 minutes and add a fourth session if you feel comfortable.
Do I need equipment?
Many of the early drills need only your body weight and a wall for support. Later phases use a resistance band, a wobble board, or weights, items most people already have at home or can borrow from a gym.
When should I see a physiotherapist?
Seek professional help if pain persists beyond two weeks, if you feel the ankle giving way during normal walks, or if you cannot perform the balance drills without wobbling.
Can these exercises prevent future sprains?
Yes. Research shows that long‑term, multifaceted exercise programs lower the risk of recurrent sprains and improve functional scores on the Star Excursion Balance Test.
Conclusion
Start with flexibility and isometric work, then add progressive resistance, balance drills, and neuromuscular training. If you need a personalized plan or want to make sure you’re progressing safely, book a session with Dynamic Balance Physio today.