

How to Recover from a Running Injury: Step‑by‑Step Guide

Got a sore shin, a tight calf, or a painful knee after a run? You don’t have to sit on the sidelines forever. Follow this step‑by‑step plan and get back on the pavement with confidence.
Table of Contents
- Step 1: Assess the Injury and Seek Professional Evaluation
- Step 2: Reduce Inflammation with Rest, Ice, and Compression
- Step 3: Begin Gentle Mobility and Stretching Exercises
- Step 4: Strengthen Supporting Muscles with Targeted Rehab Workouts
- Step 5: Gradually Return to Running with a Structured Plan
Step 1: Assess the Injury and Seek Professional Evaluation
First thing , stop running and check the area. Look for swelling, bruising, or a sharp ache that worsens with movement. If pain spikes above a 5 out of 10, it’s time to get a professional opinion.
A qualified physiotherapist can tell you whether you have a minor strain, a stress fracture, or something that needs imaging. They’ll also clear you for any future activity and set realistic timelines.
Dynamic Balance Physio specializes in sports‑related injuries and offers a full assessment, including gait analysis and strength testing. Their team can create a personalized rehab plan that matches the checkpoints identified in recent research , physician clearance, pain‑free status, and objective strength numbers.
For a deeper look at how weakness and pain interact, check out the Chronic pain muscle weakness guide. It explains why targeting the root cause matters more than just soothing the symptoms.
Once you have a diagnosis, write down the key findings. Note the exact location of pain, any movements that aggravate it, and the therapist’s recommendations. This log will help you track progress and stay on track with the rehab phases.
Step 2: Reduce Inflammation with Rest, Ice, and Compression
Inflammation is part of healing, but too much swelling can slow things down. The goal in the acute phase is to limit secondary tissue damage while the body clears out debris.
Rest doesn’t mean complete bed‑rest. Keep weight‑bearing low and avoid the painful activity. Gentle movement of other joints keeps circulation moving.
Ice works as a counter‑irritant. Apply a cold compress for 15‑20 minutes, three times a day, for the first 48‑72 hours. The chill reduces nerve firing and gives you pain relief without masking the deeper problem.
Compression wraps help re‑absorb fluid that builds up after the initial bleed. Wrap the injured area snugly, but not so tight that it cuts off circulation. Improve the limb above heart level whenever you’re sitting or lying down , gravity will pull excess fluid back toward the core.
For the science behind cryotherapy and edema control, see Wikipedia’s Cryotherapy entry. It outlines how cold exposure lowers metabolic demand and eases swelling.
Another useful on Wikipedia, which explains why compression and elevation work together to move fluid out of the tissue.
 By the end of the first week, you should notice less swelling and a lower pain rating. If swelling persists beyond five days, or pain spikes sharply with movement, schedule a follow‑up with your physiotherapist.
Step 3: Begin Gentle Mobility and Stretching Exercises
Once the acute swelling eases, start moving the joint through its pain‑free range. Mobility work restores blood flow and keeps the connective tissue supple.
Begin with active range‑of‑motion drills: ankle circles, knee extensions, and hip flexor pulls. Perform each movement slowly, aiming for 10 repetitions, twice a day.
Next, add static stretches. Hold a calf stretch against a wall for 30 seconds, then switch sides. A hamstring stretch on a low bench helps the back of the thigh. Consistency is key , a short daily routine beats a long weekly session.
Incorporating rolling techniques to break up adhesions before stretching can improve tissue pliability; a brief two‑minute roll per muscle group is often helpful.
Stick with these mobility drills for about a week. By now you should have a smoother gait, less stiffness, and a clearer sense of what still hurts.
Step 4: Strengthen Supporting Muscles with Targeted Rehab Workouts
Weak muscles often cause the same injury to return. Building strength in the hips, core, and lower legs creates a stable platform for each foot strike.
Start with body‑weight moves: glute bridges, single‑leg stands, and wall sits. Perform three sets of 12‑15 reps, focusing on good form rather than heavy load.
Progress to elastic resistance tools. Lateral band walks strengthen the gluteus medius, which controls hip drop during running. Do ten steps each way, three rounds.
When you can complete the resistance work without pain, add light hand weights for squats and lunges. Aim for a weight that lets you finish the set with a mild fatigue, roughly a 10 % increase each week.
A detailed return‑to‑running program emphasizes these progressive load principles.
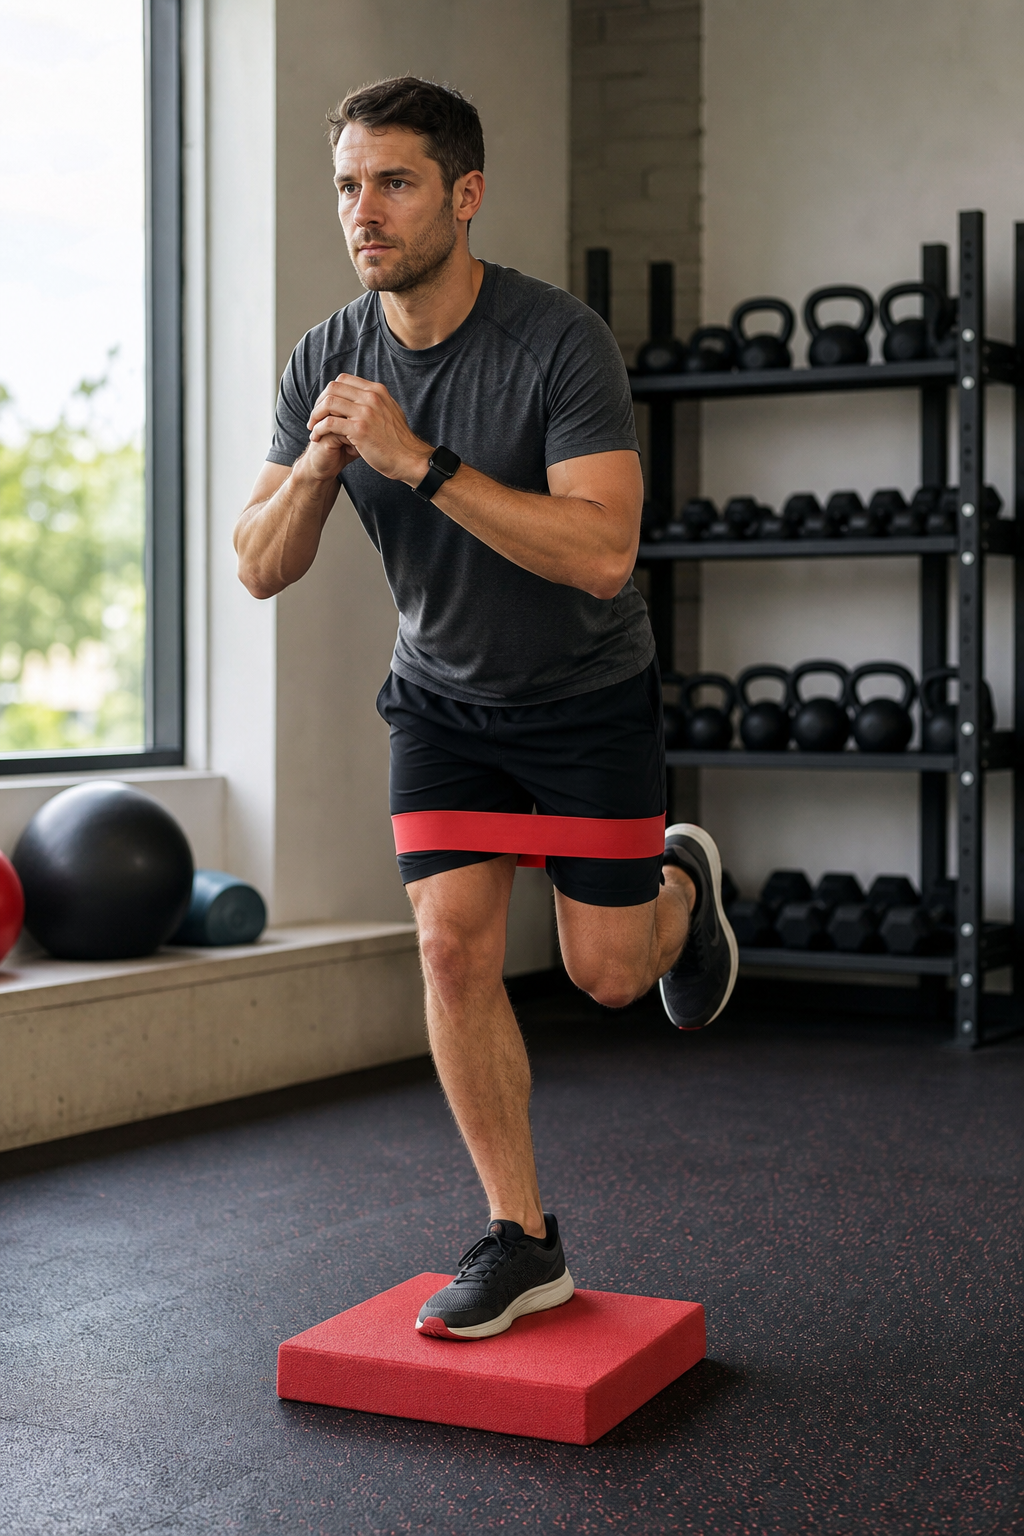 Track your reps and any pain spikes in a simple log. If a movement triggers a pain rating above 4, scale back the load or repeat the previous level for another week.
By the end of this phase , typically four to six weeks , you should feel steadier, stronger, and ready for more dynamic drills.
Step 5: Gradually Return to Running with a Structured Plan
Now the hard part: getting back to mileage without re‑injuring yourself. The key is a slow, measured increase.
Week 1: Walk‑run intervals. Start with five minutes of brisk walking, then 30 seconds of easy jogging. Repeat for 20 minutes. Keep the pace conversational.
Week 2: Extend the jog to one minute, keep the walk at four minutes. Total time stays around 25 minutes.
Week 3: Shift to a 2‑minute jog, 3‑minute walk. Notice how your knee feels after each jog segment.
Week 4: Aim for three minutes jogging, two minutes walking. If pain stays below a 3/10 and swelling is gone, add another minute to the jog.
Beyond week 4, increase total weekly mileage by no more than 10 % per week. Incorporate a “cut‑back” week every third week, dropping mileage by half to let tissues adapt.
Listen to your body. If you feel a sharp ache, back off to the previous level for another week. A physiotherapist can run strength and hop tests to confirm you’re ready for the next step.
When you hit a consistent 30‑minute run without pain, you’ve completed the typical 4‑month timeline many protocols cite for full return.
FAQ
How long does it usually take to recover from a running injury?
Recovery time varies, but most protocols move through acute rest (a few days to weeks), a structured rehab phase (4‑12 weeks), and a gradual return (up to four months). The exact length depends on injury severity and adherence to the plan.
Should I run if I still feel some soreness?
Minor soreness is normal, but sharp pain or swelling means you should pause and reassess. Keep the pain rating under a 3/10 and avoid any movement that spikes it.
Is ice always good for a running injury?
Ice helps control pain and reduces secondary tissue damage when used in the first 48‑72 hours. After that, focus more on compression, elevation, and gentle movement.
Do I need a physiotherapist for every running injury?
A physiotherapist is recommended for anything beyond a mild strain, especially if you plan to return to regular training. They can provide objective testing, safe progressions, and personalized exercises.
Can I do strength work while I’m still sore?
Yes, as long as the exercises stay pain‑free. Low‑impact moves like glute bridges, band walks, and core work are safe and can even speed up recovery.
Ready to start your comeback? Book a session with Dynamic Balance Physio to get a custom plan that matches your goals. Then follow these steps, listen to your body, and watch your mileage climb back up.