
Rotator Cuff Rehab Exercises After Injury: Step‑by‑Step Guide
Got a sore shoulder after a fall or a tough game? You don’t have to sit on the sidelines. Below is a clear, step‑by‑step routine that gets your rotator cuff moving again.
Table of Contents
- Step 1: Assess Your Shoulder Mobility
- Step 2: Gentle Stretching Routine
- Step 3: Strengthening with Resistance Bands (Video)
- Step 4: Progress to Weight‑Bearing Exercises
- Step 5: Create a Long‑Term Maintenance Plan
- FAQ
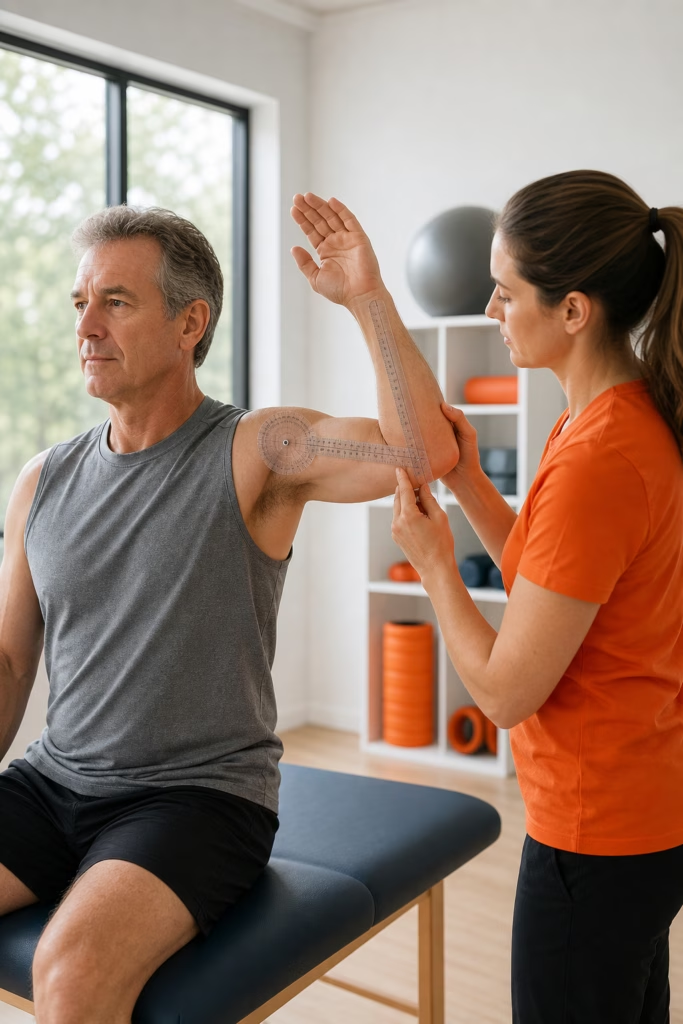
Step 1: Assess Your Shoulder Mobility
First, check how far you can lift your arm without pain. Sit upright, let your arm rest at your side, and slowly raise it forward. Stop the motion the moment you feel a sharp ache.
Next, note any clicking or grinding sounds. Those clues tell you which structures are still stiff.
Dynamic Balance Physio often uses a simple goniometer to record degrees of motion. That data helps the therapist pick the right next step.
When you’ve logged the numbers, compare them to normal ranges (about 180° forward lift). If you’re well under that, you’ll stay in the early phases of rehab.
Clinicians at Dynamic Balance Physio also watch your posture while you move. Rounded shoulders can limit rotator cuff activation.
According to a Mass General protocol, early mobility work should stay painless and under 10 minutes per session to avoid aggravating inflammation.
 Bottom line: Know where you start before you add load.
Step 2: Gentle Stretching Routine
Now that you have a baseline, begin a light stretch routine. The goal is to increase tissue length without stressing the healing cuff.
One basic move is the wall‑crawl. Stand a foot from a wall, place the fingertips on the surface, and slowly walk them up as high as you can while keeping the elbow soft. Hold for a few seconds, then walk down.
Do this 10 times, twice a day. If you feel a tug in the front of the shoulder, back off a little.
A second stretch targets the posterior cuff. Lie on your side with the injured arm on top. Gently pull the elbow across your chest with the opposite hand until you feel a stretch in the back of the shoulder. Hold for 15‑20 seconds, repeat three times.
These movements are echoed in the American Academy of Orthopaedic Surgeons’ rehab guide, which advises “start each exercise slowly and stop if pain increases” (AAOS, 2017).
Kaiser’s health encyclopedia adds that adding a light weight (1‑2 lb) once the stretch feels easy can further improve range (Kaiser, 2026).
Pro Tip: Perform the stretches after a brief warm‑up, like a 5‑minute shoulder circle, to boost tissue pliability.
Step 3: Strengthening with Resistance Bands (Video)
When the stretches feel comfortable, add resistance. A light band (green or yellow) provides enough load to challenge the muscles without over‑doing it.
Start with external rotation. Attach the band to a door knob, keep the elbow tucked to the side, and pull the band away from the body, rotating the forearm outward. Perform 2 sets of 12‑15 reps.
Next, do a scapular retraction pull. Hold the band with both hands in front of you, squeeze shoulder blades together, and release slowly.
These two moves hit the supraspinatus and infraspinatus, the primary rotator cuff stabilizers.
Watch the short video below for a visual guide.
By the end of this step you should notice smoother arm movement and less ache.
Step 4: Progress to Weight‑Bearing Exercises
With band work solid, move to light weight‑bearing drills. Pick a 2‑lb dumbbell or a canned good.
Do a standing shoulder press: start with the weight at shoulder height, press upward until the arm is straight, then lower slowly. Keep the core tight to avoid compensating with the back.
Another option is the prone “T” raise. Lie face‑down on a bench, let the arm hang straight, then lift it out to the side, forming a “T” shape. This targets the lower trapezius, which helps keep the cuff stable.
Progress by adding a few extra reps each week, but never increase the weight faster than a 10% jump.
Key Takeaway: Weight‑bearing should feel steady, not shaky. If you wobble, drop back to band work.
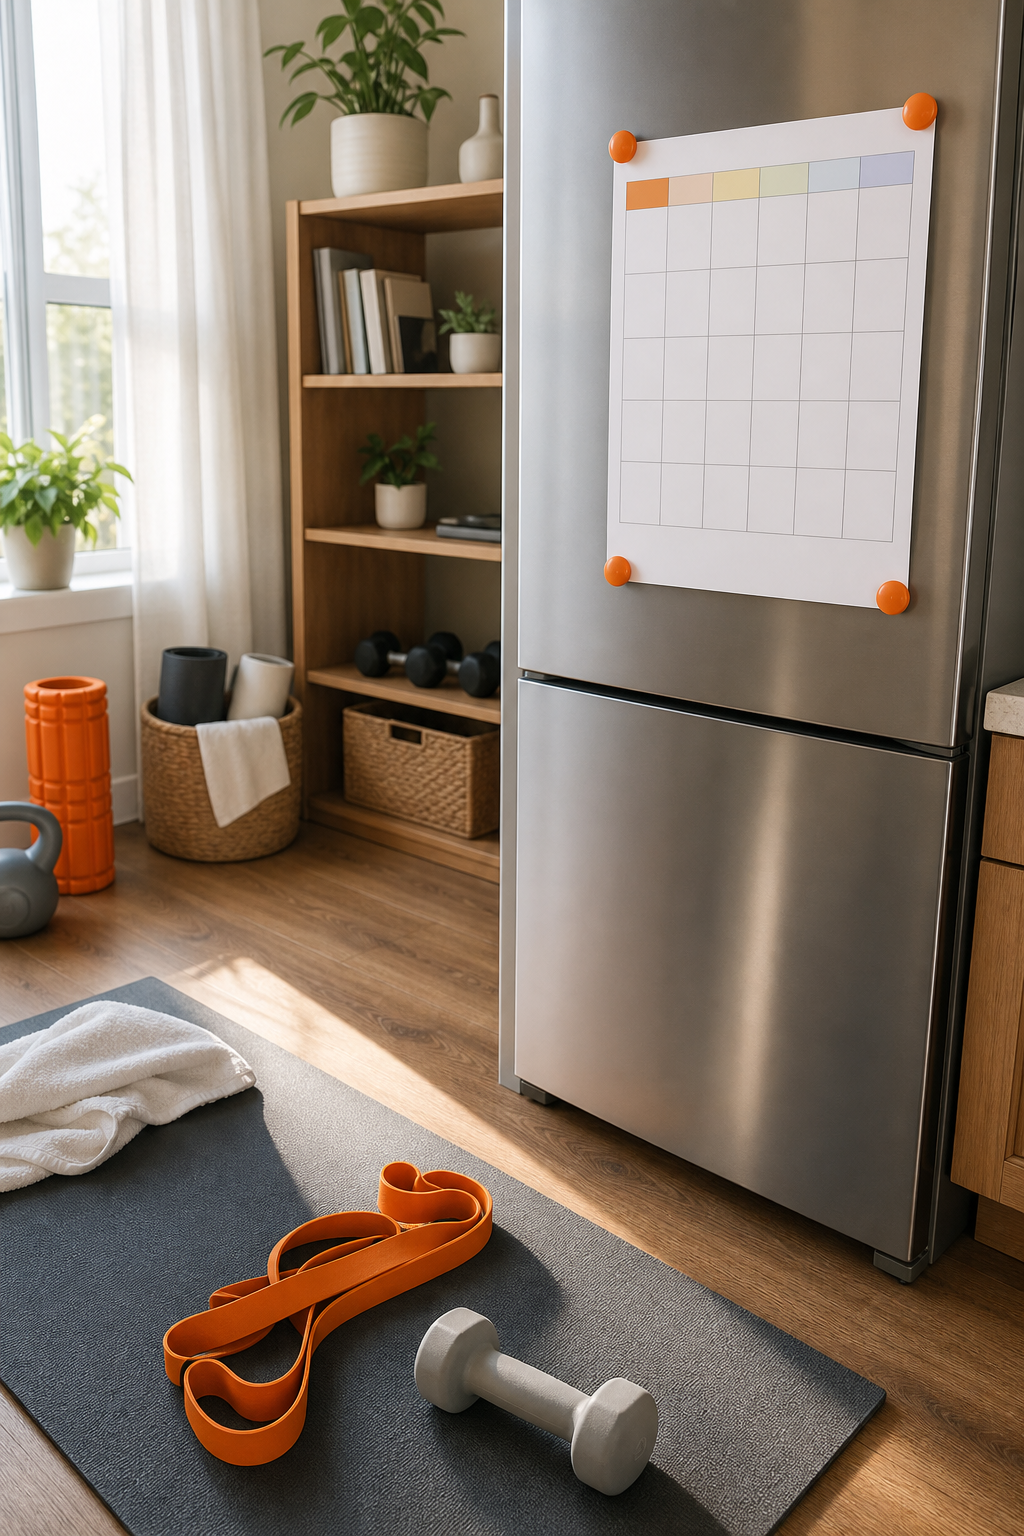
Step 5: Create a Long‑Term Maintenance Plan
Healing ends when you stop moving. To keep the rotator cuff strong, set a weekly schedule that mixes mobility, strength, and functional drills.
Here’s a simple template you can print and stick on the fridge.
Healthline notes that regular rotator cuff exercises “help build strength and improve range of motion after a rotator cuff injury” (Healthline, 2026). Stick to the plan for at least 8 weeks before expecting full recovery.
 Remember to log any pain spikes. If the soreness lasts more than 48 hours, dial back the load and consider a check‑in with a physiotherapist.
FAQ
Can I start these exercises right after surgery?
No, you should wait until your surgeon clears you for motion. Most protocols advise gentle range‑of‑motion work within the first two weeks, then progress to strengthening after the incision has healed.
How often should I do the routine?
Three sessions per week is enough for most people. Space them out (e.g., Monday, Wednesday, Friday) so the muscles have time to recover between workouts.
Is it safe to use a heavier band as I improve?
Yes, but increase resistance gradually, no more than a 10% jump each week. Jumping too fast can reignite inflammation.
What if I still feel pain after four weeks?
If pain persists beyond four weeks, schedule an evaluation with Dynamic Balance Physio. Persistent discomfort may signal an incomplete tear or a need for manual therapy.
Can I do these exercises at home without equipment?
Absolutely. A water bottle can replace a light dumbbell, and a towel can serve as a makeshift band for gentle pulls.
Ready to take the next step? Check out our Shoulder Archives for more detailed exercise videos and a free initial assessment. Your shoulder will thank you.